Category Archives: Sweets

Big Batch Banana Choc-Chip Muffins

Standard

Image

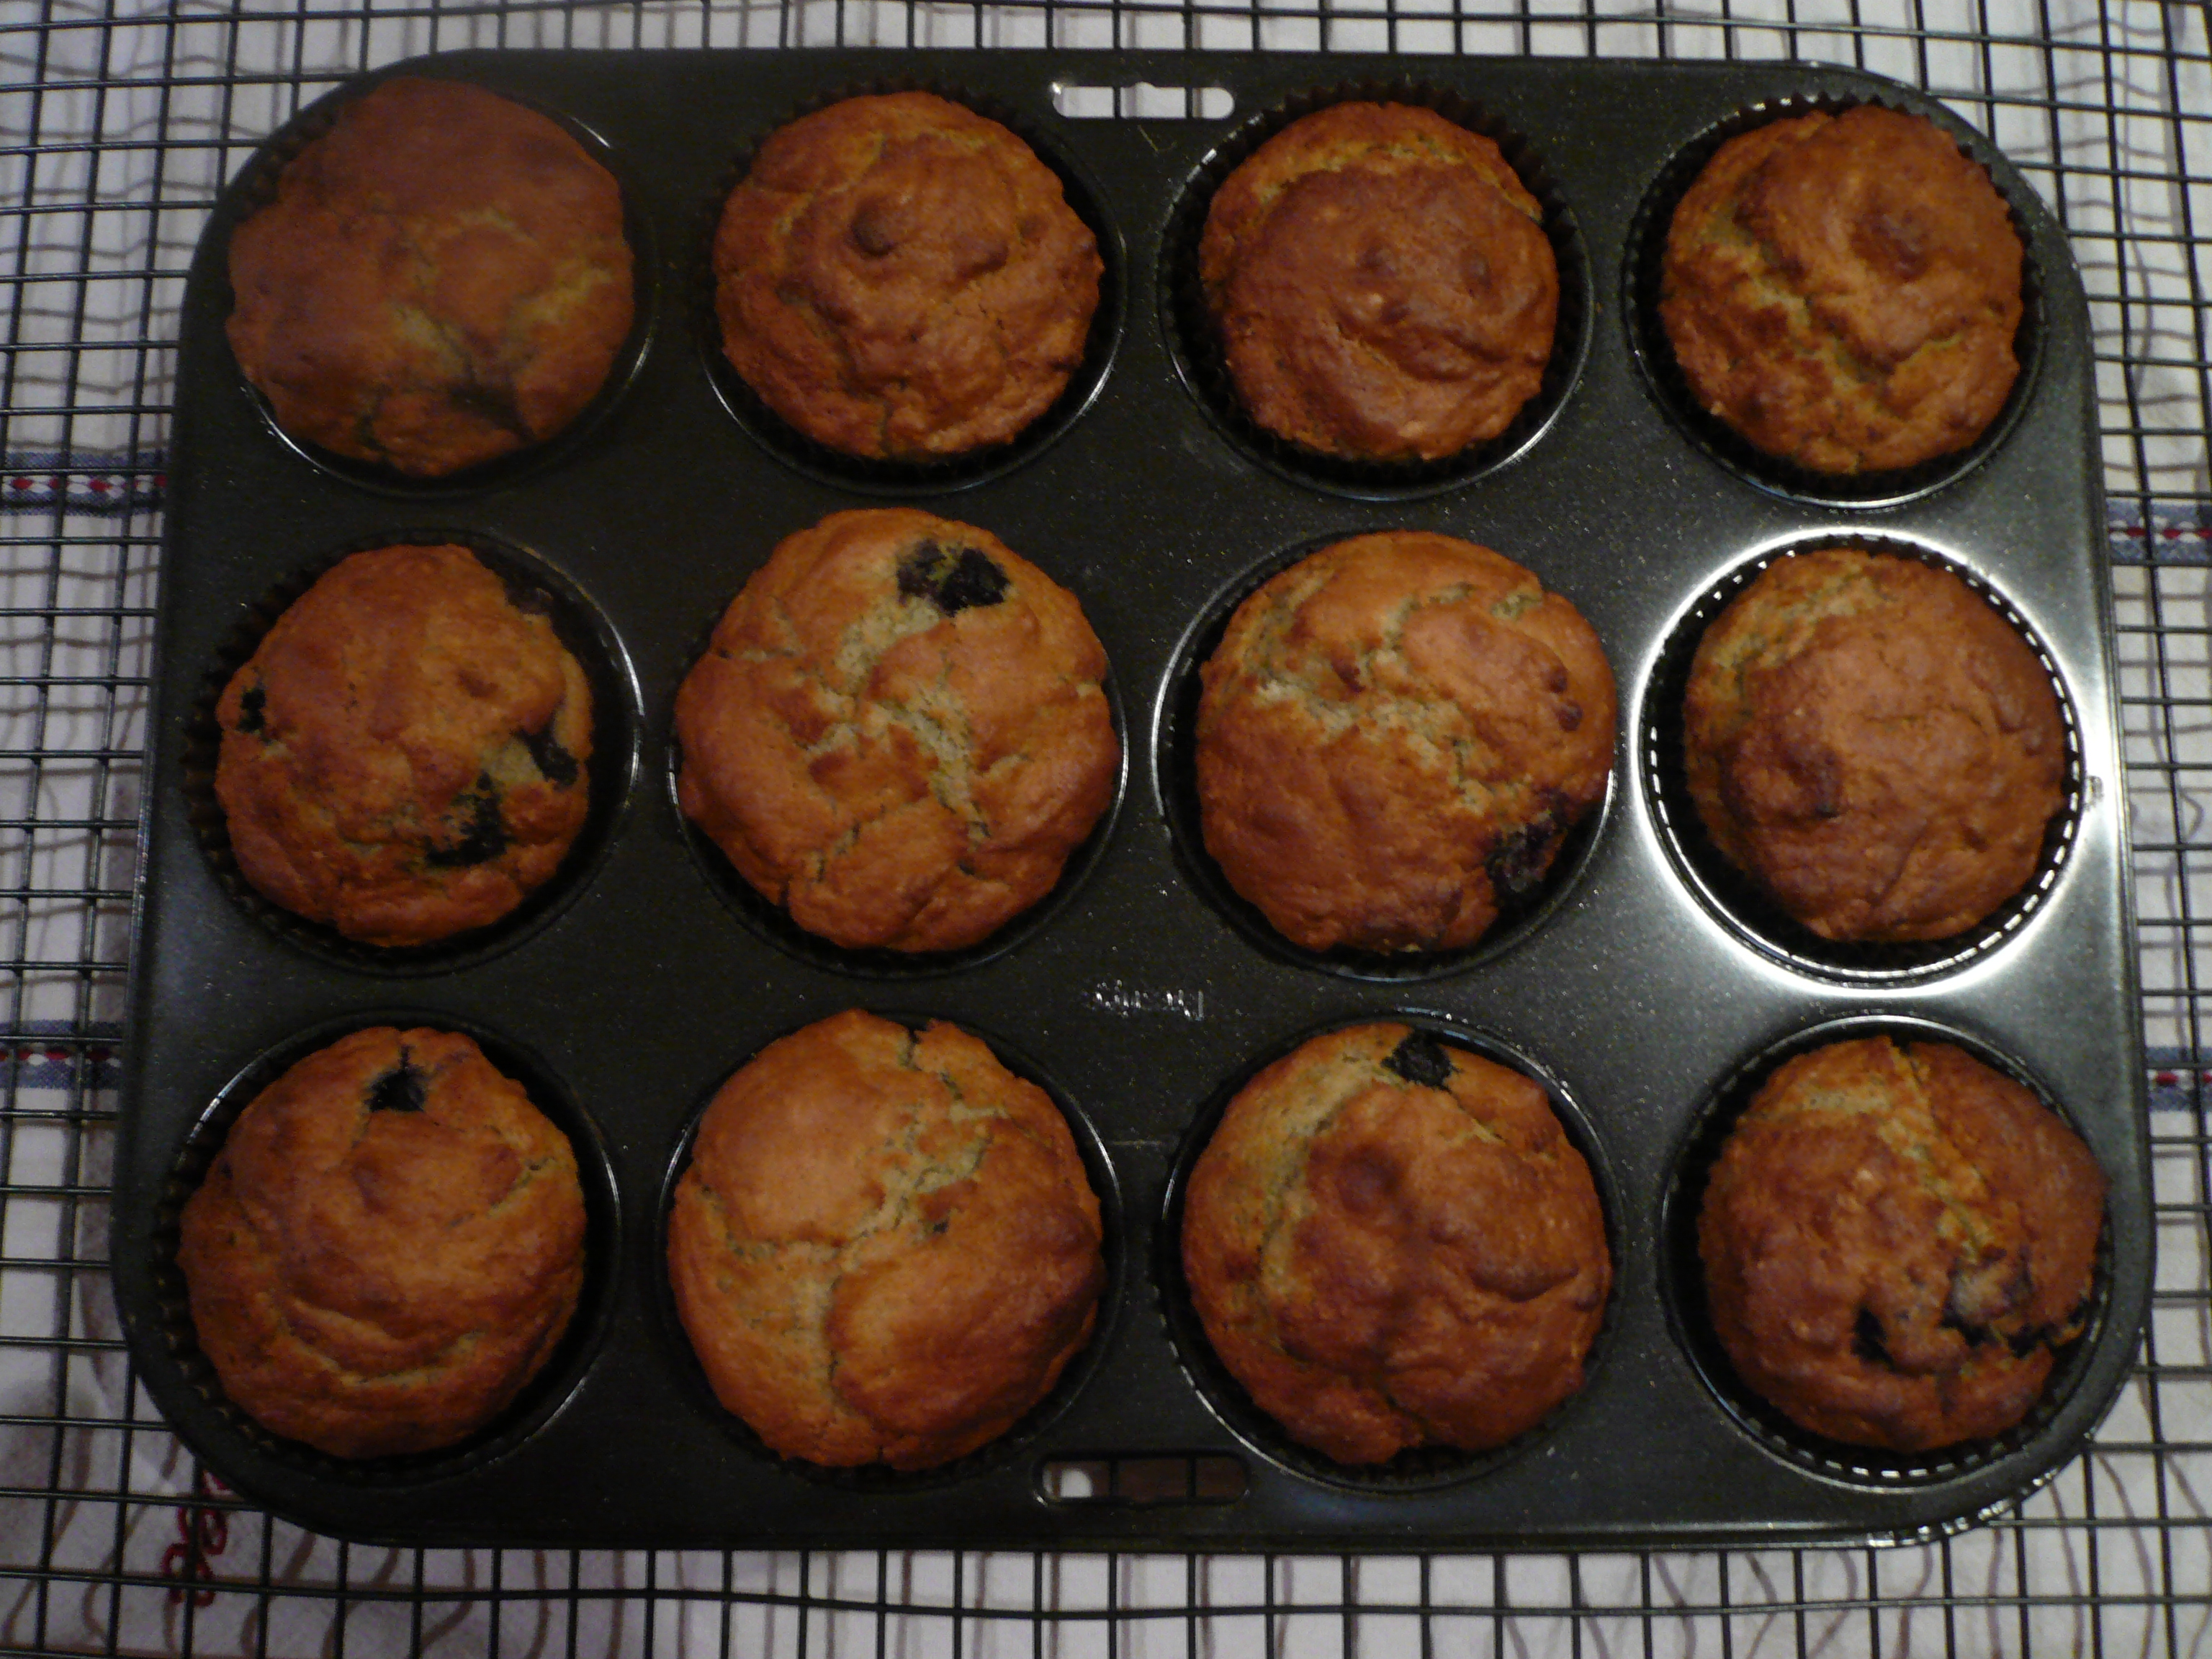
More often than not these days, I find myself in need of inexpensive and simple recipes that can be made in massive quantities. I’ve realised this is because I don’t have enough time to bake or cook for just one purpose: whatever is on the go has to meet the need of a freezer requiring a terms worth of school little lunches, morning tea for church or suppers for Bible study. I also find it’s much more cost-efficient. So when my friend Kim gave me this bumper recipe for 60 banana choc-chip muffins I was over the moon. Now that bananas have come down in price (it seems it’s not too hard to get them for $2 per kg), now is a great time to make these moist and fudgey treats. If you don’t need 60, this recipe is easily halved. An important tip about these muffins: feel free to use homebrand choc-chips. They’re much smaller than their more expensive counterparts and actually work better in this recipe. Depending on the price of bananas, all up this huge batch of deliciousness costs approximately $20. Thanks for sharing, Kim!

  • 15 very ripe bananas (approx. 4kg)
  • 3 1/2 cups sugar (700g)
  • 5 eggs, slightly beaten
  • 375g butter, melted
  • 5 teaspoons baking soda
  • 2 1/2 teaspoons salt
  • 7 1/2 cups self raising flour (1.2kg)
  • 4 x 250g packets choc-chips (1kg)
  1. Preheat oven to 180 degrees celsius and distribute muffin cases across as many muffins trays as you have and will fit in your oven.
  2. Put all the bananas in the bowl of a food processor and blitz until creamy.
  3. Put all dry ingredients in a huge bowl or plastic 6L all-purpose basin (see picture).
  4. In a large mixing bowl combine mashed bananas, sugar, eggs and melted butter. Tip this wet mixture into the dry ingredients and mix until combined, but don’t over do it.
  5. Using two dessert spoons, dollop one heaped spoon worth of mixture in each muffin case. Bake for 15-20 minutes until brown and cooked through. Enjoy!
Advertisement

Fast Portuguese Tarts

Standard

Image

Recently my friend Anna reminded me of this recipe I’d used lots a few years ago. The recipe is my take on Portuguese Tarts, morphed into its current form from a Stephanie Alexander Lemon Tart recipe. These little custardy wonders are dead easy, really yummy and make a very affordable morning/afternoon tea or dessert when served with a dollop of cream or a scoop of ice-cream. They’re quick to make and store for 5 or so days in an airtight container. This recipe makes 36 tarts and costs around $5.

  • 4 sheets of ready rolled puff pastry
  • 6 eggs
  • 250g caster sugar
  • 300ml cream
  • 2 tablespoons real vanilla extract

1. Cut pastry rounds big enough to fit muffin sized tins, with a little extra to go up the sides. Should get 9 out of 1 sheet of pastry.

2. In a bowl combine all the other ingredients with a whisk. Pour liquid into a jug.

3. Fill pastry cases to almost full and bake at preheated oven at 180 deg for 20 mins or until browning on top. Tarts will have risen and look huge, but will fall again when cooling (which is what you want).

4. Cool on wire racks and serve either warm or cold on a platter with them all piled up and dusted with icing sugar. Makes 36.

Stephanie Alexander’s Lemon Delicious

Standard

Image

I have the fondest memories of my Nan’s Lemon Delicious pudding. As kids we spent lots of holidays at my grandparents’ home at Tumut Plains in country NSW. It was my most favourite of all her desserts and once she knew how much I loved it, she would always make it when she knew I was coming. It was always paired with a main that she called ‘Old Faithful’ which was essentially a Tuna Mornay baked on a bed of brown rice and topped with rounds of sliced fresh tomato and grated cheese. In my mind they go together now. These days I love Lemon Delicious for the added benefit of being so cost efficient: the whole pudding costs around $3 to make and feeds 8. Enjoy finding the lemon sauce that pools in the bottom of the dish and serve with cream or icecream.

  • 2 lemons
  • 60 g butter
  • 1 1/2 cups castor sugar
  • 3 eggs, separated
  • 3 tablespoons self-raising flour
  • 1 1/2 cups milk
  1. Preheat oven to 180°C and butter a 1 litre oven proof basin or serving dish.
  2. Zest 1 of the lemons and juice both. In a food processor, cream butter with zest and sugar, then add egg yolks.
  3. Add flour and milk alternately to make a smooth batter. Scrape mixture from sides of processor bowl and blend in lemon juice. Transfer to a clean basin.
  4. Whisk egg whites until creamy and firm and fold gently into batter. Pour batter into prepared basin.
  5. Stand basin in a baking dish and pour in hot water to come halfway up sides of basin. Bake for 1 hour. Allow to cool a little before serving.

Women’s Weekly Family Chocolate Cake

Standard

Image

Image

Years ago, my friend Amy made this cake for one of her children’s birthdays while I was at her house for a cuppa. She baked and I watched from the breakfast bar while sipping tea – one of my favourite things to do with friends, whether I’m the one cooking or watching! I took the recipe home that day and have been making it ever since. This moist and chocolatey cake is so fudgey and the cake itself is absolutely as good as the frosting! It makes a whopping great big slab, baked in a roasting dish. Terrific for large crowds or dividing up for a multitude of school lunches, this one freezes fabulously.

  • 2 cups (500ml) water
  • 3 cups (660g) caster sugar
  • 250g butter, chopped
  • 1/3 cup (35g) cocoa powder, sifted
  • 1 teaspoon bicarbonate of soda, sifted
  • 3 cups (450g) self-raising flour
  • 4 eggs, beaten lightly
  • 90g butter
  • 1/3 cup (80ml) water
  • ½ cup (110g) caster sugar
  • 1½ cups (240g) icing sugar mixture
  • 1/3 cup (35g) cocoa powder
  1.  Preheat oven to moderate. Grease deep 26.5cm x 33cm (14 cup/3.5 litres) baking dish: line base with baking paper.
  2. Combine the water, sugar, butter and combined sifted cocoa powder and soda in medium saucepan; stir over heat, without boiling, until sugar dissolves. Bring to a boil then reduce heat; simmer, uncovered, 5 minutes. Transfer mixture to large bowl; cool to room temperature.
  3. Add flour and egg to bowl; beat with electric mixer until mixture is smooth and changed to a paler colour. Pour mixture into prepared dish.
  4. Bake cake in moderate oven about 50 minutes. Stand cake in baking dish 10 minutes, before turning onto wire rack; turn cake top-side up to cool. Spread cold cake with fudge frosting.

Fudge frosting:

  1. Combine butter, water and caster sugar in small saucepan; stir over heat, without boiling, until sugar dissolves. Sift icing sugar and cocoa powder into small bowl then gradually stir in hot butter mixture. Cover; refrigerate about 20 minutes or until frosting thickens. Beat with wooden spoon until spreadable.

TIP: Choose a perfectly level-bottomed baking dish; one made from cast aluminium is the best choice, but almost any type will work. If the cake appears to be cooking too quickly in the corners of the pan, reduce oven temperature to moderately slow; this will increase cooking time by up to 15 minutes.

Sugar Free Chocolate Sour Cream Cake

Standard

Image

Image

I can’t tell you how excited I am to be blogging about this cake! I’ve been fiddling about and am so happy with the flavour of this chocolate cake made on stevia instead of sugar. The cake that results is moist and chocolatey but isn’t at all rich. The whipped cream tops it off nicely, and although it looks dry when it comes out of the oven, it’s really not at all on the inside (the second picture shows it’s moist loveliness best). When covered in cream, this phenomenon isn’t noticed at all. This cake costs less than $5 to make and can be topped with berries of your choice for an even fancier (mostly) sugar free dessert (obviously berries have some sugar, but not much).

  • 300 grams plain flour
  • 100grams stevia (Natvia is my preferred brand for taste)
  • ¾ teaspoon baking powder
  •  ¼ teaspoon bicarb soda
  • ½ teaspoon salt
  • 200grams butter, cut into cubes and softened
  • 50grams cocoa (Woollies homebrand has improved LOTS and is now quite useable)
  • 200ml or ½ cup sour cream
  • 3 large eggs
  • 1 ½ teaspoons vanilla extract
  • 120ml or 1/2 cup milk
  • 300ml cream, whipped

1. Preheat the oven to 180°C (170 degrees fan forced). Grease and line your choice of 25cm springform tin, 25cm square tin or 25cm ring tin.

2. In the bowl of an electric mixer, combine the flour, stevia, baking powder, baking soda and salt.

3. Then, using the electric mixer on a low setting, add the cubed, softened butter. This will produce a rough crumb-like consistency.

4. In a wide-mouthed measuring cup, whisk together the cocoa, sour cream, eggs and vanilla, then slowly add this cocoa mixture to the ingredients in the bowl, beating until thoroughly combined. With motor running slowly, add milk which will make the batter take on a dropping consistency.

5. Pour the batter into tin and bake for 40 minutes. The cake will have risen and cracked a little on top. Don’t stress about this – although it looks dry, it’s actually quite moist on the inside. Leave in the tin for 10 minutes on a cooling rack, then turn out to cool.

6. When cake has cooled completely, top with whipped cream and store in the fridge.

Blueberry Muffins 2 Ways

Standard

Image

Above: Original Blueberry Muffins

Below: Sugar Free Blueberry Muffins

Image

I have been using this Blueberry Muffin recipe by Nigella Lawson for years as my basic muffin recipe, morphing the flavours to suit what is desired – raspberry and white chocolate, chocolate chip and berry flavoured. Recently I’ve needed to modify it to be made on Stevia rather than sugar and it still works quite well. Below you’ll find the original recipe and the version of it I use when making them sugar free. Please don’t go to the shop to buy buttermilk, I’ve only ever used the yoghurt and milk replacement and it work fine. These are fast to make and will cost you no more than $3-4 depending on your choice of filling.

  • 75g unsalted butter,
  • 200g plain flour
  • ½ tsp bicarb of soda
  • 2 tsp baking powder
  • 75g caster sugar
  • Pinch of salt
  • 200ml buttermilk (or 100g yoghurt and 100ml milk)
  • 1 large egg
  • 200g blueberries (I often use less to reduce cost)
  • 12 hole muffin tray lined with 12 paper cases
  1. Preheat oven to 200C/gas mark 6.
  2. Melt the butter and set aside to cool a little.
  3. Combine all the dry ingredients in a bowl and in a measuring jug beat together the buttermilk (or yoghurt and milk), egg and melted butter.
  4. Using a wooden spoon and a light hand, pour the wet ingredients into the dry and mix gently to combine. Don’t worry about lumps, the important thing is the mixture isn’t over-worked.
  5. Fold in the blueberries, again keeping mixing to a minimum.
  6. Spoon into the muffin cases and bake for 20 minutes, by which time the muffins should be risen, golden and firm on top.

For sugar free blueberry muffins: increase flour to 300g and replace sugar for 40g granulated Stevia.

Banana Bread (with no added sugar)

Standard
Image
Having had some requests for some sugar free recipes, I thought I’d share this one. I make this modified banana bread (originally another Nigella recipe) in muffin sizes for my kids lunches all the time and the best part is I know that the only sugar in it comes from the bananas themselves. This recipe calls for stevia instead of sugar and you can buy it in a variety of granulated brands in the sugar aisle next to the artificial sweeteners. The exciting thing about stevia is that it’s totally natural so there’s no bad after taste and it’s also much sweeter than sugar so you really only need 1/4 of the amount you might normally use when baking with sugar.
  • 250g plain flour
  • 2 teaspoons baking powder
  • 1/2 teaspoon bicarbonate of soda
  • 1/2 teaspoon salt
  • 125g unsalted butter, melted
  • 50-75g stevia (add enough to suit your desire for ‘sweetness’)
  • 2 large eggs
  • 4 small, very ripe bananas (about 300g weighed without skin), mashed
  • 1 teaspoon vanilla extract
  • 23 x 13 x 7cm loaf tin, buttered and floured or with a paper insert
  1. Preheat the oven to 170ºC/gas mark 3 and get started on the rest. Put the flour, baking powder, bicarb and salt in a medium-sized bowl and, using your hands or a wooden spoon, combine well.
  2. In a large bowl, mix the melted butter and stevia and beat until blended. Beat in the eggs one at a time, then the mashed bananas. Then, with your wooden spoon, stir in the vanilla extract. Add the flour mixture, a third at a time, stirring well after each bit. Scrape into the loaf tin and bake in the middle of the oven for 1-11/4 hours. When it’s ready, an inserted toothpick or fine skewer should come out cleanish. Leave in the tin on a rack to cool, and eat thickly or thinly sliced, as you prefer.

Jodi’s Mum’s Lemon Tea Cake

Standard

Image

The lemon tree out the side of my house has been bursting with lemons for the last few weeks and I’ve been racking my brain to find ways to use them up. I’m really not the most sentimental of people but I quite like it that the variety of lemon my tree brings forth is a ‘Meyer’ lemon – my maiden name. According to my grandmother, one of our long lost relatives first propagated it and it’s now one of the most readily available varieties. So I was excited when my friend Jodi emailed me her mother’s recipe for Lemon Tea Cake. When I made this ridiculously easy cake, I so enjoyed the neatness of it all – using all the lemon’s rind and juice with no wastage. This cake will set you back no more than 20 minutes and $3. Thanks for sharing, Jodi.

  • 1  1/2 cups self raising flour
  • 1 cup sugar plus 1/4 cup extra
  • 1/2 teaspoon salt
  • 120g butter
  • 2 eggs
  • 1/2 cup milk
  • zest of 1 lemon
  • juice of 1 lemon
  1.  Preheat oven to 180 degrees (170 fan forced). Grease and line a 20cm round, ring or loaf tin.
  2. In a medium sized bowl, sift flour, add sugar and salt. Rub in butter. (This is done easily if you grate butter cold, straight from the fridge.)
  3. Combine beaten eggs and milk and stir into mixture. Fold in lemon rind.
  4. Pour into the tin and bake for about 50mins, but start checking earlier with a skewer.
  5. Mix juice of lemon and 1/4 cup sugar and remove cake from the oven. Immediately spoon lemon juice/sugar mixture over cake and allow to soak into the cake.
  6. Leave in tin to cool. Serve by itself or with cream and ice cream for dessert.

Chocolate Fudge Slice with Caramello Chocolate

Standard

ImageImage

A number of years ago my friend Kara gave me this divine recipe and since then it’s been one of my favourites for when I need to quickly make a morning or afternoon tea or a fast dessert. The consistency of the slice is nice and chewy with the oozing Caramello chocolate randomly permeating the mixture. It’s a fast melt and mix recipe which will take you no more than 10 minutes to mix and pop into the oven. One of the things I love most about this recipe is it’s versatility – my friend Nicole makes it with white chocolate chunks and it’s easy to substitute the Caramello for whatever chocolate you prefer. If you buy your chocolate on special and use home brand condensed milk, this yummy option will cost less than $6 to make. Finally, consider using it as a desert serving up a square for each person with a scoop of ice cream. Serves 24+

  • 1 cup self raising flour
  • 1/2 cup brown sugar
  • 1/2 cup coconut
  • 2 heaped tabs cocoa
  • 125g butter, melted
  • 400g can condensed milk
  • 1 family size block Cadbury Caramello chocolate (replace with whatever you fancy)
  1. Grease and line a rectangular 16x26cm slice tin with baking paper. Preheat oven to 180 degrees (fan-forced 170 deg).
  2. In a large mixing bowl combine all the ingredients (except chocolate), press into slice tin. Break chocolate into individual squares and press them randomly and firmly into the mixture in the tin.
  3. Bake for 20-25 mins, but start checking early. The slice should be rise back after a light touch but still be a little wobbly and soft when it comes out of the oven. It will continue to cook as it cools.

Nigella’s Chocolate Pots

Standard

Image

This is one of the easiest, yummiest and affordable dessert recipes I’ve ever come across. I love food that’s served in ramekins because it always looks great and costs are kept down by controlling portion size. Originally from Nigella Lawson’s Nigella Bites, this gluten free dessert is a winner in my book because it takes no more than 10 minutes to make and then it’s straight into the fridge for later – and it’s literally all done. Every time I make these rich little treasures they get devoured. The mixture makes 8 small ramekins (about 1/3 cup capacity each), but In the photo above, I over-filled mine and so it only made 6 portions. I picked up my little ramekins from Kitchen Antics for $1.95 each. Tonight they’re on offer because it’s the State of Origin and my sister and brother in law are coming to watch it with us. Total cost $3.

  • 175 grams dark chocolate, minimun 70% cocoa
  • 150 ml thickened cream
  • 100 ml milk
  • 1/2 teaspoon vanilla extract
  • 1 egg
  1. Crush the chocolate to smithereens in a food processor. Heat the cream and milk until just about boiling, add the vanilla and pour down the funnel over the chocolate. Let stand for 30 seconds. Process for another 30 seconds, then crack the egg down the funnel and process again for 45 seconds.
  2. Pour into 8 little ramekins until 3/4 full. Refrigerate for 6 hours or overnight. Serve naked or topped with berries.