Tag Archives: fruit

Nigella Lawson’s Banana Bread (or my Rapidly Rotting Fruit Loaf)

Standard

Banana Bread

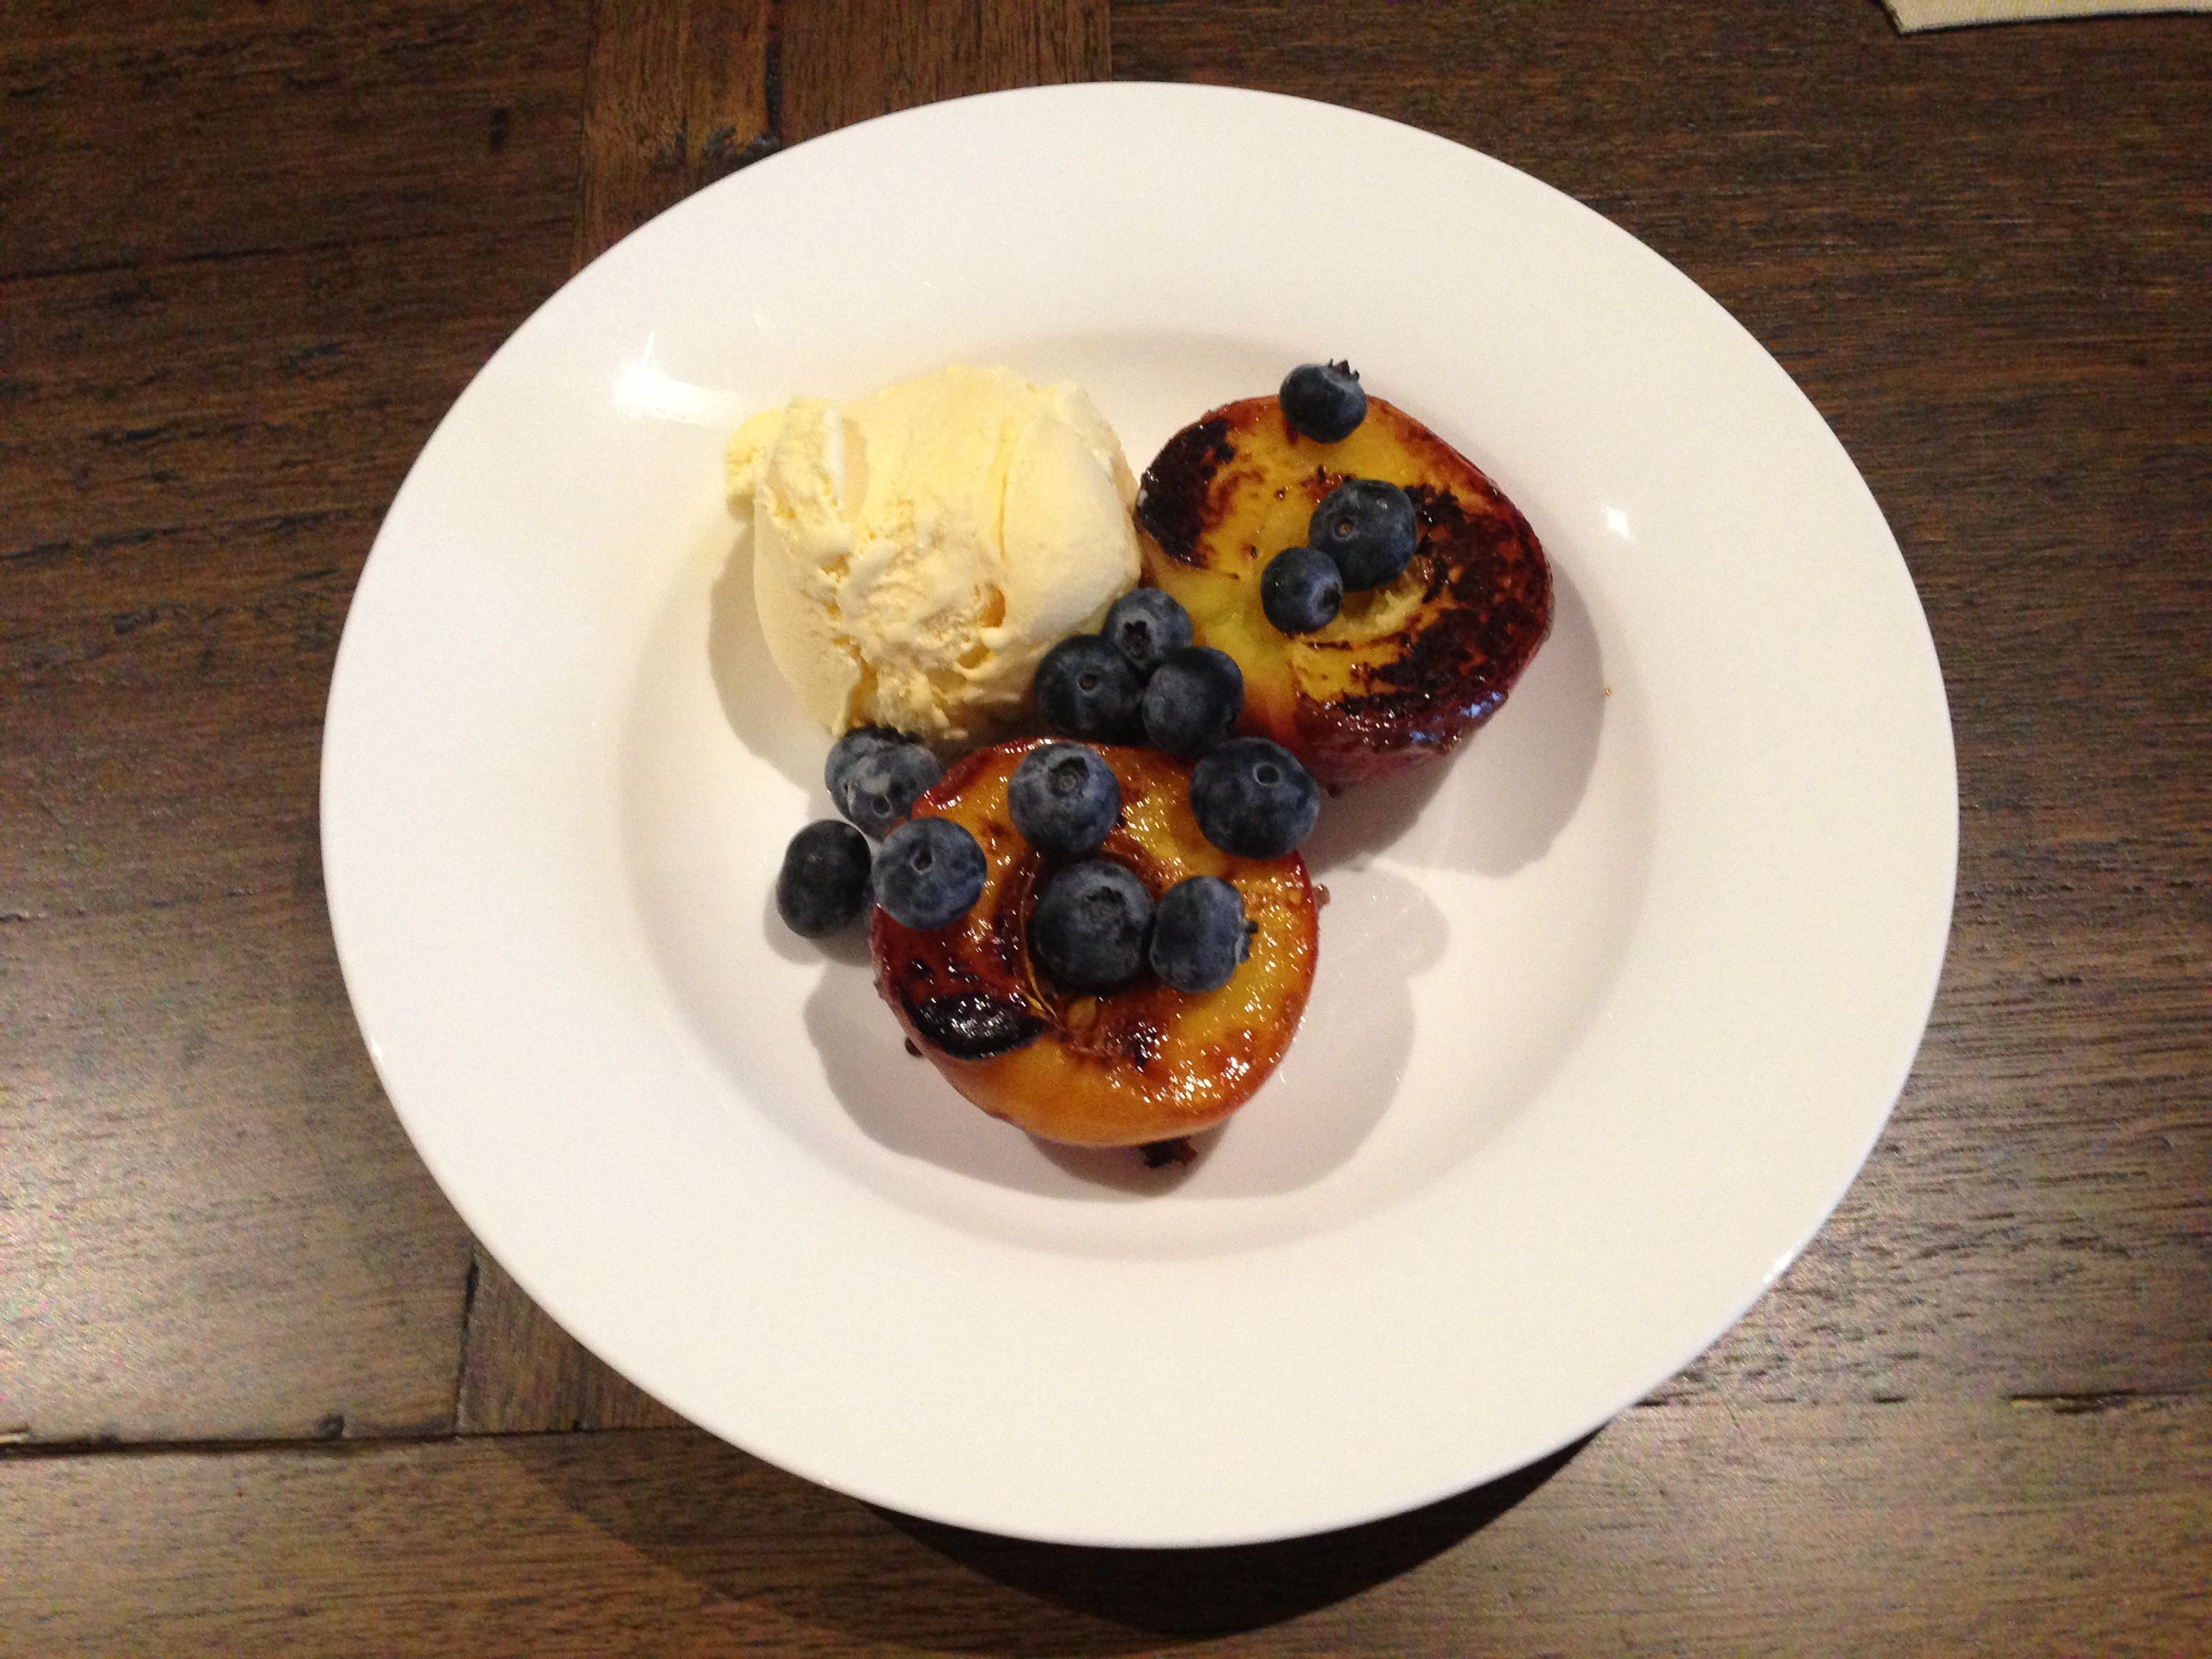
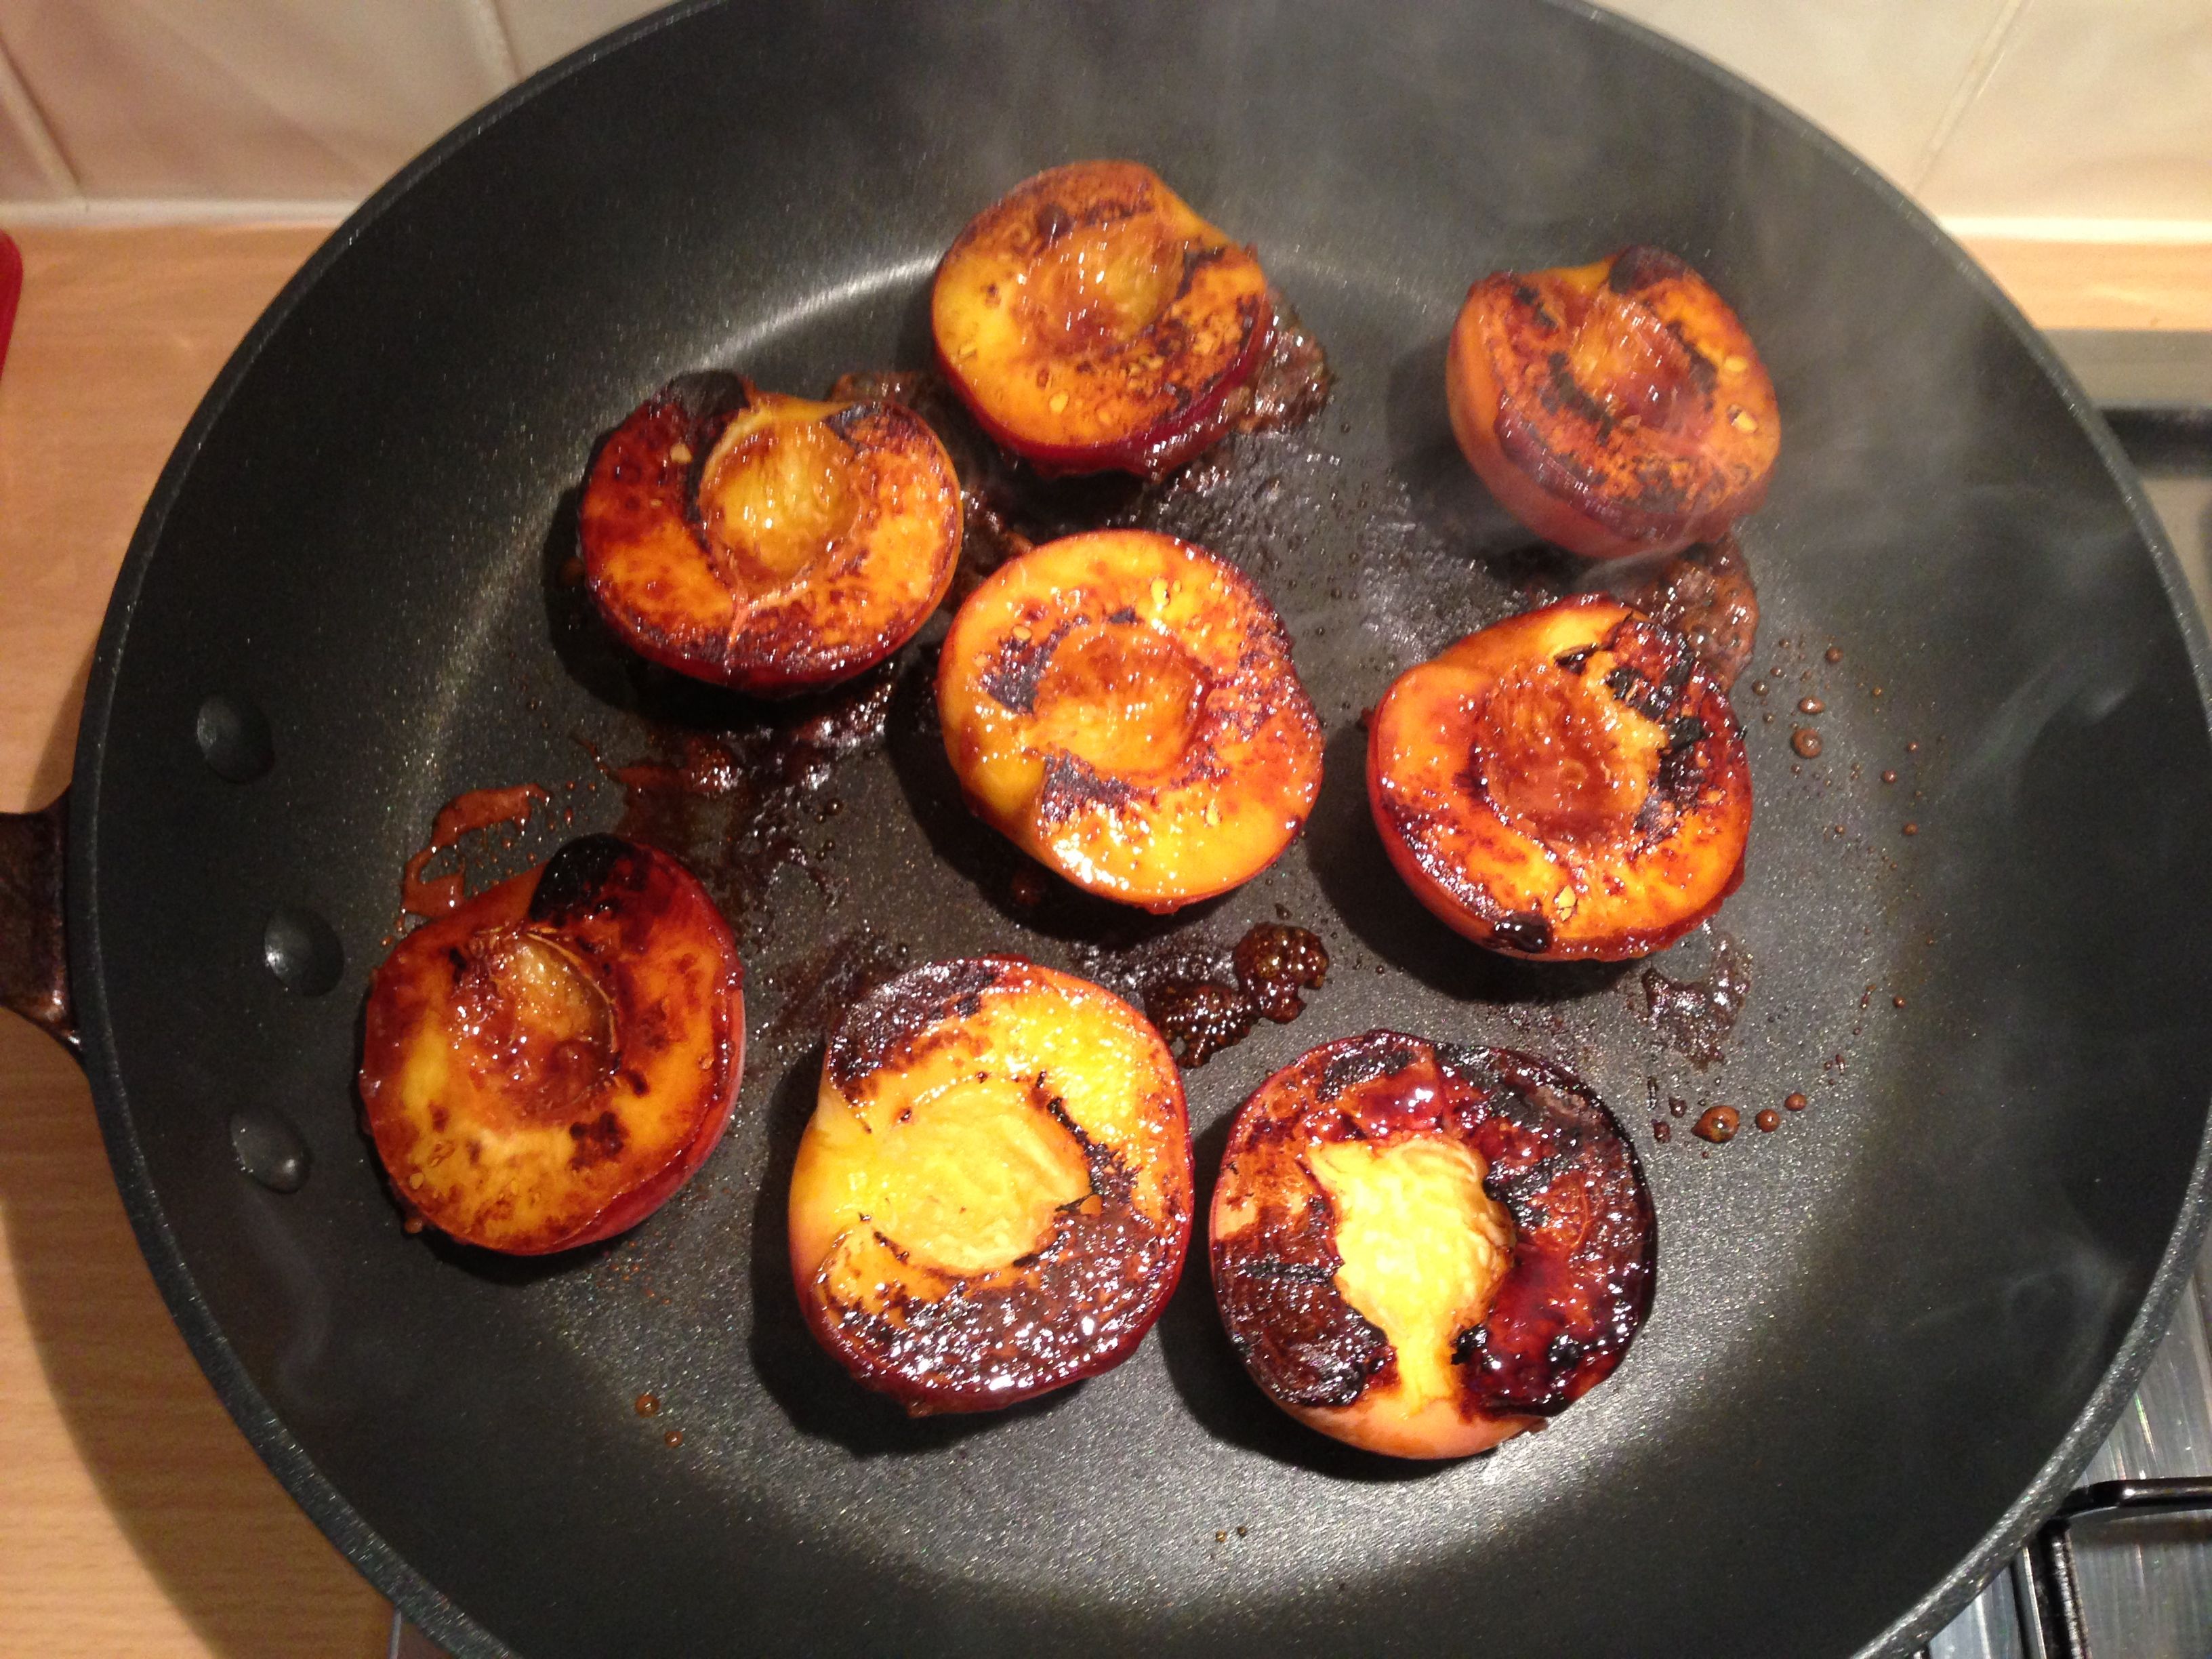
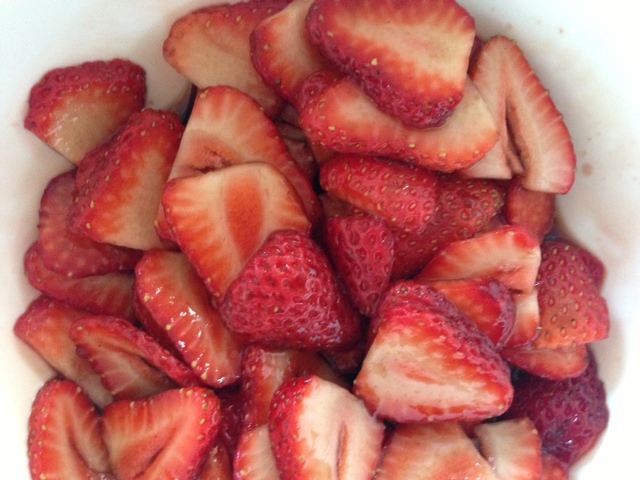
This easy-peasy banana bread has become my frequent go-to for using up fruit that’s quickly losing freshness in my fruit bowl. Originally from Nigella Lawson’s excellent book, How To Be A Domestic Goddess, this banana bread is cheap to make, freezer friendly and super versatile. If bananas have become over-ripe I often throw them straight in the freezer whole, skins and all, and then thaw them out to use another time – upon defrosting the insides just slop right out of their skins, and don’t even need mashing. And this recipe copes really well with almost anything you want to throw at it: old, bruised strawberries, rhubarb, a drained can of pineapple chunks/crushed pineapple, a handful of nuts, crystalized ginger… whatever floats your boat. Just keep the bananas!) The loaf pictured above features rotten bananas, too-far-gone pears and a handful of frozen raspberries from the freezer, and cost about $5 to make.

  • 175 grams plain flour
  • 2 teaspoons baking powder
  • ½ teaspoon bicarbonate of soda
  • ½ teaspoon salt
  • 125 grams unsalted butter (melted)
  • 150 grams caster sugar
  • 2 large eggs
  • 4 small very ripe bananas (mashed)
  • 1 teaspoon vanilla extract

Preheat the oven to 170ºC and line a loaf tin with baking paper. Put the flour, baking powder, bicarb and salt in a medium-sized bowl and, using your hands or a wooden spoon, combine well.

In a large bowl, mix the melted butter and sugar and beat until blended. Beat in the eggs one at a time, then the mashed bananas, along with any other fruit you’ve decided to use – just blitz it in your food processor first. Then, with your wooden spoon stir in vanilla extract and any other ‘bits’ you want – nuts, raspberries etc… Add all this to the flour mixture, then scrape into a loaf tin (23 x 13 x 7cm) and bake in the middle of the oven for 1-1¼ hours (start checking at 1 hour). When it’s ready, an inserted toothpick or fine skewer should come out cleanish. Leave in the tin on a rack to cool, and eat thickly or thinly sliced, as you prefer. Also can be toasted and spread with butter for a yummy brunchy breakfast. 

Advertisement

Caramelised Peaches

Standard

 Image

Image

Image

These caramelised peaches are one of my favourite summer desserts. They’re so yummy as well as fast and easy to make – so much so that I simply make it in front of guests while they’re waiting for main course to settle a little. The end result is a healthier type of dessert and it works even without the brown sugar if you’re trying to avoid adding it. The cost of this dessert depends on the current price of peaches and your preference for ice-cream, but easily falls in the affordable category. Serve with a scoop of vanilla ice-cream or thick Greek style yoghurt and a handful of fresh blueberries if they’re as well priced as they are right now – $2.75 a punnet at Woolworth’s.

  • 1 peach per person, halved with stone removed
  • 1/2 cup brown sugar
  • blueberries, ice-cream and yoghurt to serve
  1. Preheat a frypan or grill to full whack
  2. Press the wet half of each peach into the brown sugar and place sugar side down in the pan. Cook until sugar caramelises and peach starts to soften slightly
  3. Turn peaches and cook the outside half briefly until starting to soften also
  4. Place two peach halves, caramel side up in each person’s bowl. Add ice-cream, or yoghurt and berries. Enjoy!

Balsamic Strawberries

Standard

Image

Sometime last year, my friend Soph updated her facebook status with something about having made an easy dessert of sliced strawberries, a splash of balsamic vinegar and spoonfuls of sugar, mixed up and served on icecream. The simplicity of it and the promise of yumminess grabbed my attention and so I had a go at doing it too. Soph was right – the process was instant and simple and the result was sweet strawberries amid a yummy self-made sauce created by the interaction of ingredients. At this time of year strawberries are much cheaper than usual and fruity desserts are perfect for the heat of summer. Use this mixture to make instant strawberry sundaes by spooning masses of it on top of a bowl of ice-cream, or do what our cousin Angela does, and turn it into a quick and easy parfait. I’m keen to use this to make a fast Eton Mess using store bought meringues, ice-cream and whipped cream, though am yet to do so. The cost of this dessert will depend on the price of strawberries and your preference for ice-cream and the quantity below serves 4. Enjoy! 

  • 1 punnet fresh strawberries, thinly sliced
  • 2 tablespoons balsamic vinegar
  • 2 tablespoons caster sugar
  • ice-cream enough for 4 people

1. In a medium sized mixing bowl place sliced strawberries, balsamic vinegar and caster sugar. Combine all ingredients and allow to rest at room temperature for half an hour.

2. Use as you like, but my favourite is this: spoon mixture across four bowls of ice-cream for grown-up style strawberry sundaes.

Bircher Muesli

Standard

Image

I’ve always loved Bircher Muesli. Actually, I’m pretty happy with oats of any kind and porridge is an any-time-of-the-day thing at our place, often for dinner on a slack winters night. Despite my love of all things oatey, I’d never even thought to try making my own Bircher Muesli, so when Anna sent me this dead easy and uber-cheap recipe, I was keen to give it a go. I am so glad I did! Perfect for breakfast or brunch hospitality, I’m sure I’ll be making this refreshing and comforting mix of oats, apple, almonds and yoghurt again and again. The quantity that follows makes enough for 4 decent serves, so just multiply away to suit the number of friends you’re serving. Just remember with this one to make it at least a day ahead – and enjoy the benefit of not having to do much the day people come over. Total cost less than $3, with fruit to serve additional.

  • 1 cup rolled oats (not quick oats)
  • 1-2 grated apples
  • ½ cup apple juice
  • 1 large handful sultanas (I used craisins cause I was out of sultanas)
  •  ½ handful of roughly chopped, unsalted almonds
  • ¼ cup vanilla or Greek yoghurt (you’ll need a little extra for serving too)
  • ¼ cup milk
  • 1 teaspoon honey
  • Chopped fruit and/or frozen berries for serving

1.   Mix all the ingredients together in a bowl. Cover with cling wrap and refrigerate overnight.

2.   In the morning it should be the consistency of cold porridge. Stir and if necessary add a little bit more yoghurt or milk to increase the creaminess.

Serve with fresh chopped fruit and/or berries and some extra yoghurt.

Peach and Raspberry (cakey type) Tart

Standard

Image

While it is true that winter is my favourite season of the year, I can’t help but feel a little enlivened by the warmer weather and the knowledge that summer is on its way. The shops are starting to supply summery fruits once more: mangoes, melons, apricots and other stonefruits, my favourite being the yellow peach. To celebrate the promise of all things summer, I decided it’s the perfect time to try out this simple and delightful recipe from my friend Jess. I love the way Jess does hospitality – simple and tasty food accompanied by no amount of fuss and flourish, she simply focusses on the folks she’s serving. This lovely dessert is the first of a number of affordable and tasty recipes contributed by Jess – costing no more than $5 and even less when peach season is in full swing.

  • 125g butter, softened
  • 1 cup / 220g caster sugar
  • 1 teaspoons vanilla
  • 2 eggs
  • 1 ½ cups / 220g self raising flour, sifted
  • 2 peaches, cut into thin wedges
  • 150g raspberries
  • 2 tablespoons icing sugar

1. Preheat oven to 160 degrees and line 22cm springform tin (not a tart tin – the first time I made this I used a loose-bottomed tart tin and it overflowed because the walls of the tin didn’t come up high enough).

2. Beat butter, sugar, vanilla until light and creamy. Add the eggs and beat well.

3. Fold in flour and put in tin.

4. Top with peaches and raspberries and sprinkle with icing sugar (you can do this randomly or with an ordered pattern. I tried to go with random, but seriously struggled not to order my randomness! The picture above shows a bit of both)

5. Bake 1 hour or until cooked through and serve with vanilla ice-cream, thick cream or good quality yoghurt.

Mango Chicken Curry

Standard

Image

My wonderful mother-in-law gave me this recipe years and years ago. Every now and then my husband says “We haven’t had that mango curry in a while” and I’m always surprised I don’t think to make it more often. This not-at-all hot curry gets devoured quickly, is easy-peasy to make and so affordable. It’s a great option for hospitality because you can do all the preparation in advance, long before people arrive, and simply leave the stir-frying until you’re about to eat – cause there’s no more than 10 minutes cooking time for this dish. Ensure rice on the go in a rice cooker while people arrive and you really won’t have much to do in the kitchen when things are getting underway. The quantities listed below serves 6 and is easily doubled when cooked in a wok for a larger group. This flavoursome dinner costs around $10.

  • 2 large chicken breast fillets, thinly sliced
  • 1x440g can mango cheeks, thinly sliced (home brand is fine)
  • 1 tablespoon yellow curry powder
  • 1 tablespoon sesame oil
  • 2 cloves garlic, crushed
  • 6 spring onions, white ends chopped roughly, green stalks thinly sliced
  • 1 tablespoon wholegrain mustard
  • 1/2 cup chicken stock (powdered or cubed is fine)
  • 2 carrots, peeled and julienned
  • 100g snow peas, thinly sliced
  • 1/3 cup sour cream
  • salt & pepper to taste
  1. In a large frypan or wok on maximum heat, cook sesame oil, garlic and white ends of spring onions until fragrant.
  2. Add chicken strips and fry until brown on all sides. Turn pan down to low and add carrots, curry powder, mustard and stock. Simmer for 5 mins.
  3. Add green stalks of spring onions, snow peas and sour cream. Season with salt and pepper. Just before serving, gently fold through thinly sliced mango cheeks. Serve with rice.